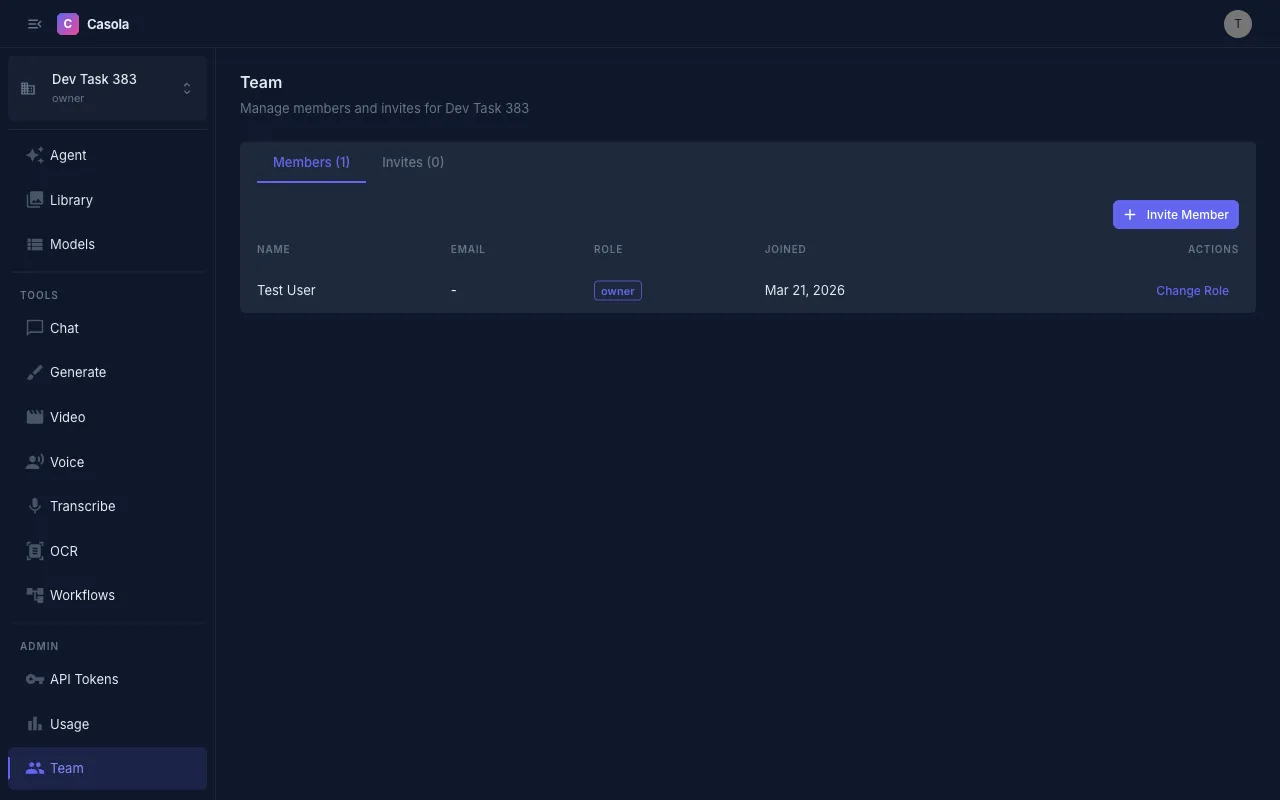
Team Management
The Team page lets organization admins invite people, assign roles, and configure organization-wide settings. Only users with the Owner or Admin role can access this page.
Every member has one of four roles. Here’s what each can do:
| Role | What they can do |
|---|---|
| Owner | Everything — full control over the organization, billing, and members. Can transfer ownership. |
| Admin | Manage members, invites, and organization settings. Cannot manage billing or transfer ownership. |
| Member | Use the platform — submit jobs, create workflows, manage their own tokens. |
| Viewer | Read-only access — can browse models and view results, but cannot submit jobs or make changes. |
An organization can have multiple Owners and Admins. There must always be at least one Owner — the last remaining Owner cannot be demoted or removed.
Inviting members
Section titled “Inviting members”Click Create Invite on the Invites tab to open the invite dialog.
| Field | Description |
|---|---|
| The email address to invite. Leave empty to create an open invite link that anyone can use. | |
| Role | The role the new member will receive when they join. |
| Multi-use | Toggle on to allow the invite link to be used more than once. |
| Max uses | When multi-use is enabled, the maximum number of times the link can be used. |
After creating the invite, you’ll see the invite URL. Copy it and share it with the person you’re inviting. Invite links expire after 7 days.
Open invites
Section titled “Open invites”Leave the email field empty to create an invite link that anyone can use to join your organization. This is useful for onboarding an entire team quickly. Combine with the multi-use toggle and a max-uses limit to control how many people can join.
Invite link
Section titled “Invite link”Each invite generates a link in the format https://app.casola.ai/join/{token}. When someone opens the link, they’ll be prompted to sign in (or create an account) and then automatically join your organization with the assigned role.
Managing members
Section titled “Managing members”On the Members tab, you can see everyone in your organization along with their role and join date.
Changing a role — Click Change Role next to a member to open the role selector. Pick the new role and confirm. Role changes take effect immediately.
Removing a member — Demote a member or revoke their access as needed. Remember that the last Owner cannot be removed.
Organization settings
Section titled “Organization settings”Data region
Section titled “Data region”Set a default data region for your organization’s jobs:
| Region | Description |
|---|---|
| Global | Jobs are routed to the fastest available GPU, regardless of location. This is the default. |
| US | Jobs are routed only to US-based GPUs. |
| EU | Jobs are routed only to EU-based GPUs. |
The data region controls where job data is processed. Choosing US or EU restricts job routing to GPUs in that region, which may affect availability and queue times.
Personal vs. organization context
Section titled “Personal vs. organization context”When you sign in to Casola, you’re always working within an organization. If you haven’t been invited to one, you have a personal organization created automatically. You can switch between organizations from the sidebar if you belong to more than one.